HAIRSTYLE INSPIRATIONS
Quick Weave: Step-by-Step Process
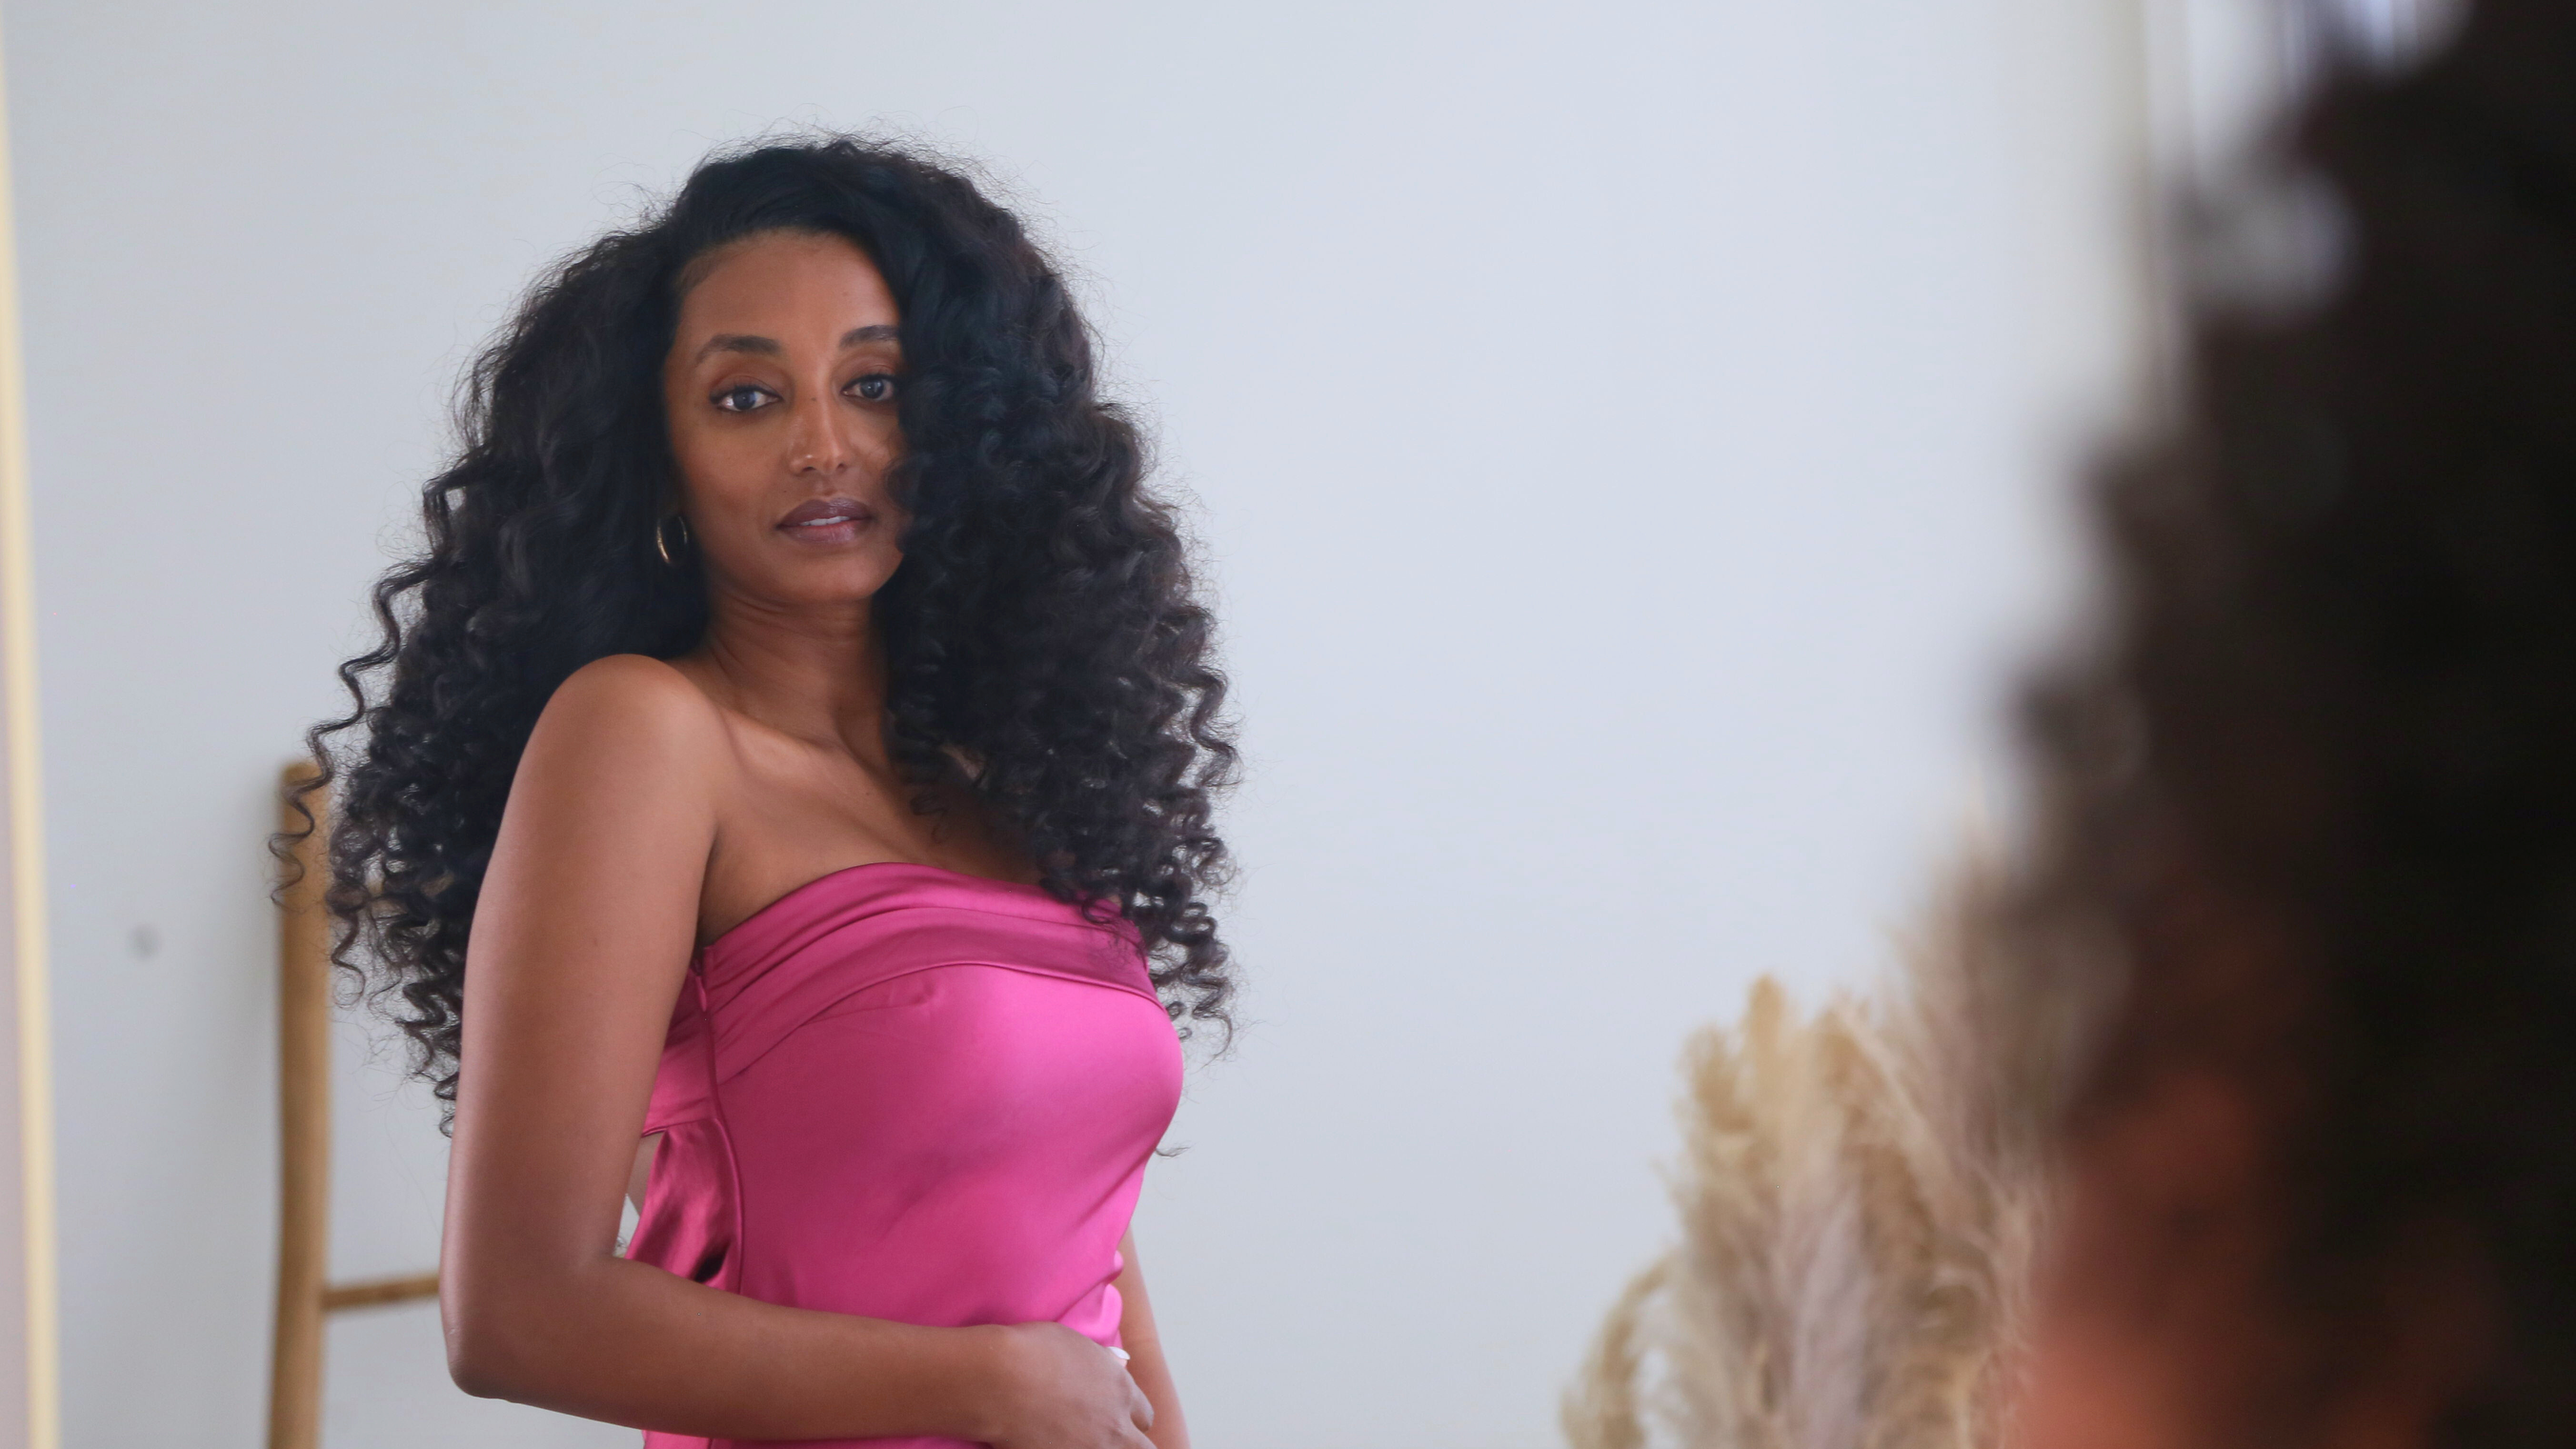
A Quick Weave is a classic, protective hairstyle where hair extensions are bonded to a protective cap placed over your natural hair, allowing for a flawless look in less time than traditional sew-ins.
Step 1: Hair Prep & Cleansing
The natural hair is thoroughly cleansed and deep conditioned to remove product buildup and ensure a healthy base.
Step 2: Hair is Braided or Molded
The natural hair is either:
-
Braided flat into cornrows, or
-
Molded down using styling gel or setting foam for a sleek base.
This helps create a flat surface and protects your natural hair underneath.
Step 3: Protective Cap Application
A protective weaving cap is placed over your braided or molded hair. This serves as a barrier, shielding your natural hair from direct contact with bonding glue.
Optional: Some stylists add a paper wrap or growth oil treatment under the cap for added protection.
Step 4: Wefts are Bonded
Hair extensions (wefts) are carefully glued onto the cap, starting from the nape and working up toward the crown. Each track is measured, trimmed, and applied with precision for a natural, layered finish.
Step 5: Closure or Leave-Out
Depending on the desired style:
-
A closure may be added for a full protective style, or
-
A small portion of natural hair is left out to blend seamlessly with the weave.
Step 6: Cut, Style, & Finish
The hair is then:
-
Shaped and layered to complement your face,
-
Styled using heat tools or rollers, and
-
Finished with shine sprays or serums for a polished, luxurious look.
Frequently Asked Questions
Extension Hair Care & More
-
Raw hair bundles are 100% unprocessed hair collected directly from donors in India and regions in southeast Asia. The hair is never chemically treated, dyed, or altered, preserving its natural texture, luster, and longevity.
-
- Raw hair: Completely unprocessed, straight from the donor. Highest quality available.
- Virgin hair: Heavily processed for texture uniformity
- Processed hair: Chemically altered (colored, permed, or textured), which reduces its lifespan.
-
With proper care, our raw hair can last 4 years or more. The durability of our products is our most valued feature
-
- Use sulfate-free shampoo and moisturizing conditioner then air dry
- Detangle gently with a wide-tooth comb before installs
- Deep condition regularly every 2 weeks
- Store in a silk/satin bag when not in use
-
Yes, we recommend co-washing or shampooing extensions upon receipt however it is optional
-
Shipping in the U.S. will take up to 7 working days including Saturdays
-
Yes. Our raw Indian bundles can be bleached and dyed to the lightest 613 blonde.
-
We recommend sealing weft to ensure longevity of the bundles however it is optional.
-
Due to the nature of our product, we do not accept returns on used hair. However, unopened and unused products may be eligible for exchange. Please review our full return policy page
-
If you have concerns with your order please send an email to Customerservice@allurestrands.com and allow up to 72 hours for a response.